Hey everyone,
So I got a number of people asking me about the sword. I figured I’d just respond here.
To answer a couple questions in particular:
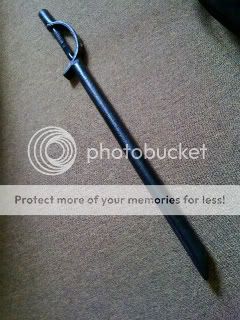
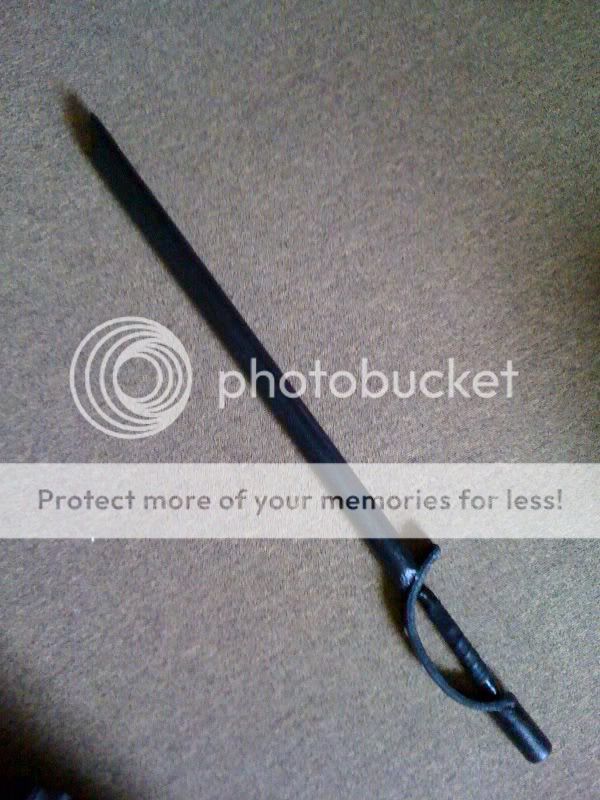
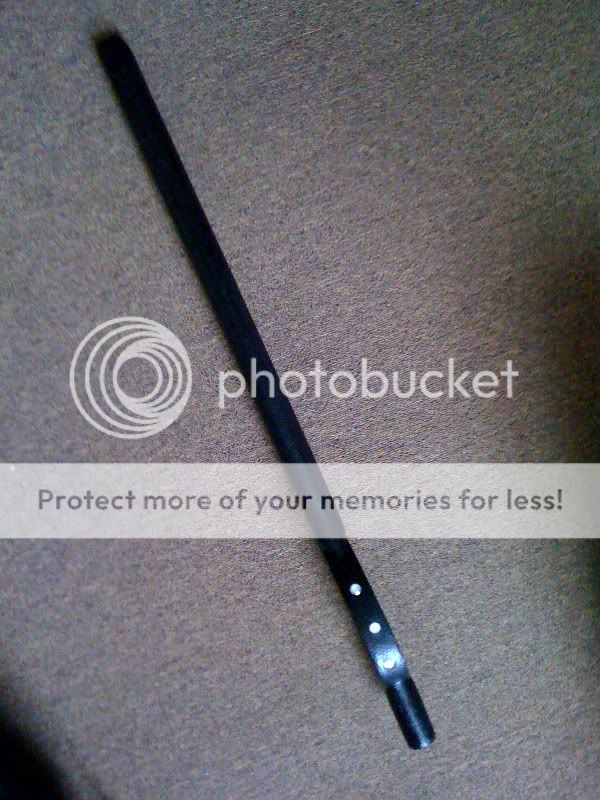
1) The tip is not actually pointy. It’s rounded and slanted. I did this for safety and simplicity, but it also looks pretty good.
2) I treated the finished sword with silicone spray. This made it more water repellent and (I’m told) strengthens it and prolongs its life a little.
3) The core is actually a hunting arrow. They are cheap, light and strong as hell.
4) Yes, I think it’s pretty much water proof at this point.
5) The tip is about as soft as the blade, which is soft enough to be safe, so long as you don’t actually stab with it, which we can’t do within the rules anyway, so…you’re good!
Okay,
1) I took the arrow shaft, cleared it and ran a strip of rubber weather stripping down the part of the blade that would be the striking side (there would only be one striking side, since it’s a saber).
- The weather stripping was 1/4 of an inch across and 1/8 inch thick.
- Then I cut out the three pieces of the sword’s foam. The blade. The pommel. The hand guard.
2) The blade was the biggest pain to handle, in the past, so I actually ordered special pipe foam for 3/8 inch copper pipe with a 1/2 inch wall. (Note: the .5 inch wall was why I needed to lay down the 1/8 weather stripping, to meet the 5/8 thickness striking surface requirement we have in the Alliance latex rules.) If you want this foam you have to order 75 bucks worth, from Canada, so it was another 75 bucks in shipping. If people want just one six foot piece I’d be happy to sell a few for the base cost and shipping.
- The pipe foam that I ordered also has no slit. This makes it so you don’t have to mess around with taping it up.
- Then I cut the top of the blade to have a slanted angle. This is just to make it look more like a sword. I filled the little hole in with a piece I cut from the same pipe foam.
3)The pommel is just more of the pipe foam.
- I cut both the blade and pommel to have a slant where they meet with the hand guard.
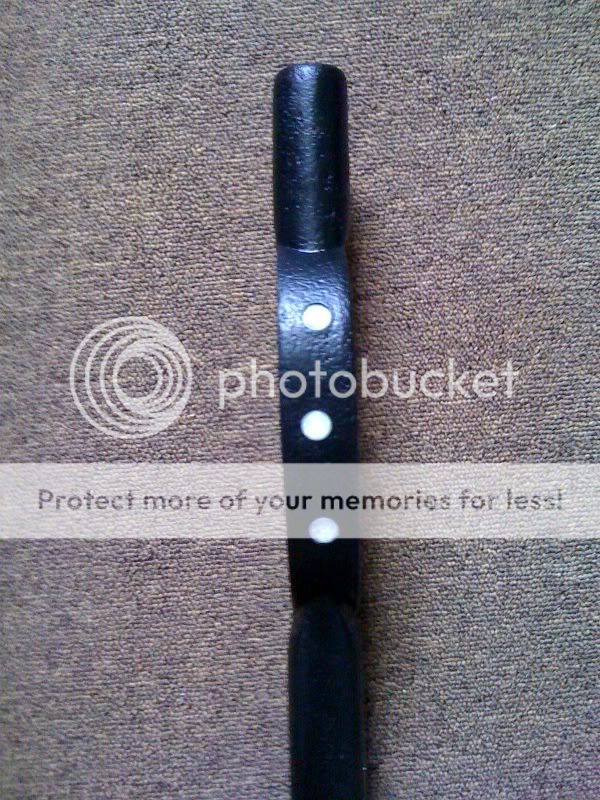
4) I cut a long rectangular piece of foam from a foam camping mat, shaped it as desired, and drilled two little holes on each end for the core to slide through.
5) Then I assembled all three pieces together onto the core, using contact cement and masking tape to hold them together.
- Put the contact cement on all the pieces, where they will touch, let it sit for a couple minutes, then tape the pieces firmly together and use a little more contact cement to fill in any holes. Make sure the pieces are firmly together, but also make sure that the masking tape is not touching the cement and that the foam is not be malformed during the drying process.
-Let this sit overnight.
6) Remove the tape. Check to see if you like the shape and the overall look of the thing.
7) Cover it in layers of plasti-dip. I applied 7 thin coats with some cheap foam brushes. You can use chunks of open cell foam as brushes.
- Make sure the layers are thin and evenly spread. Take your time. Make sure there are no drips. Lay newspaper down underneath you to be safe. This stuff stains.
- Make sure to apply the PD on the core too. It’ll keep water out.
8) Wrap the grip with whatever you want. I used grip tape and electrical tape to seal it at the ends.
9) Get copper pipe with a thin wall. The pipe must be just a little smaller than the round gem stones you want to use.
-Heat up the pipe over a flame and gently let it melt about ¼ of an inch into the foam. Twist it out.
10) Use a razor to take some of the foam out of the little holes.
11) A dot of contact cement in each hole and gently pop the gems in. Let them sit for at least an hour.
12) The next day, wipe down everything but the grip with a rag and silicone spray, several times.
13) Post pics and let me know how it turned out.

")