Traceroo
Rogue
Hiya Everybody!
I've just been appointed as an official Weapons Marshal for Alliance Denver. I'll be assisting Jesse by conducting weapons safety check at future events. I'm also happy to check any player weapons at our Sunday fighter practices at Ladybug Park in Arvada.
After speaking with several players making their first attempts at constructing their own boffer weapons, my understanding is that the published guidelines on traditional boffer weapon construction may not be sufficiently clear in description of proper construction of the tips of weapons at both ends.
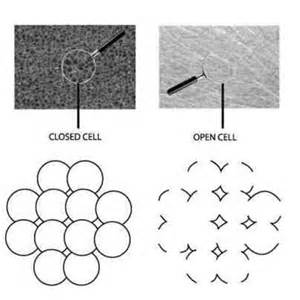
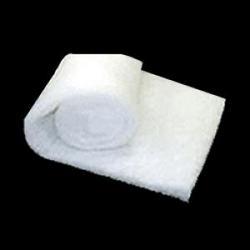
To define our terms: In traditional round-blade boffer weapons, closed cell foam is the pipe insulation that you use for the length of the blade of the weapon. In flat-blade weapon construction, you might use camp foam for this purpose.
In both round blades and flat blades, the closed cell foam should extend 1" past the core of the weapon at both ends. The core should be completely encased in foam so that no part of the core sticks out beyond the foam. Obviously, this is to ensure that there's no chance of beating your friends at Alliance with raw pipe since they tend to take that rather personally.
The gap between the end of the weapon core and the end of the closed cell foam should be packed densely with little bits of spare foam. For traditional round-blade weapons, make a + sign with tape over the end cap to keep that plug of spare foam in there.
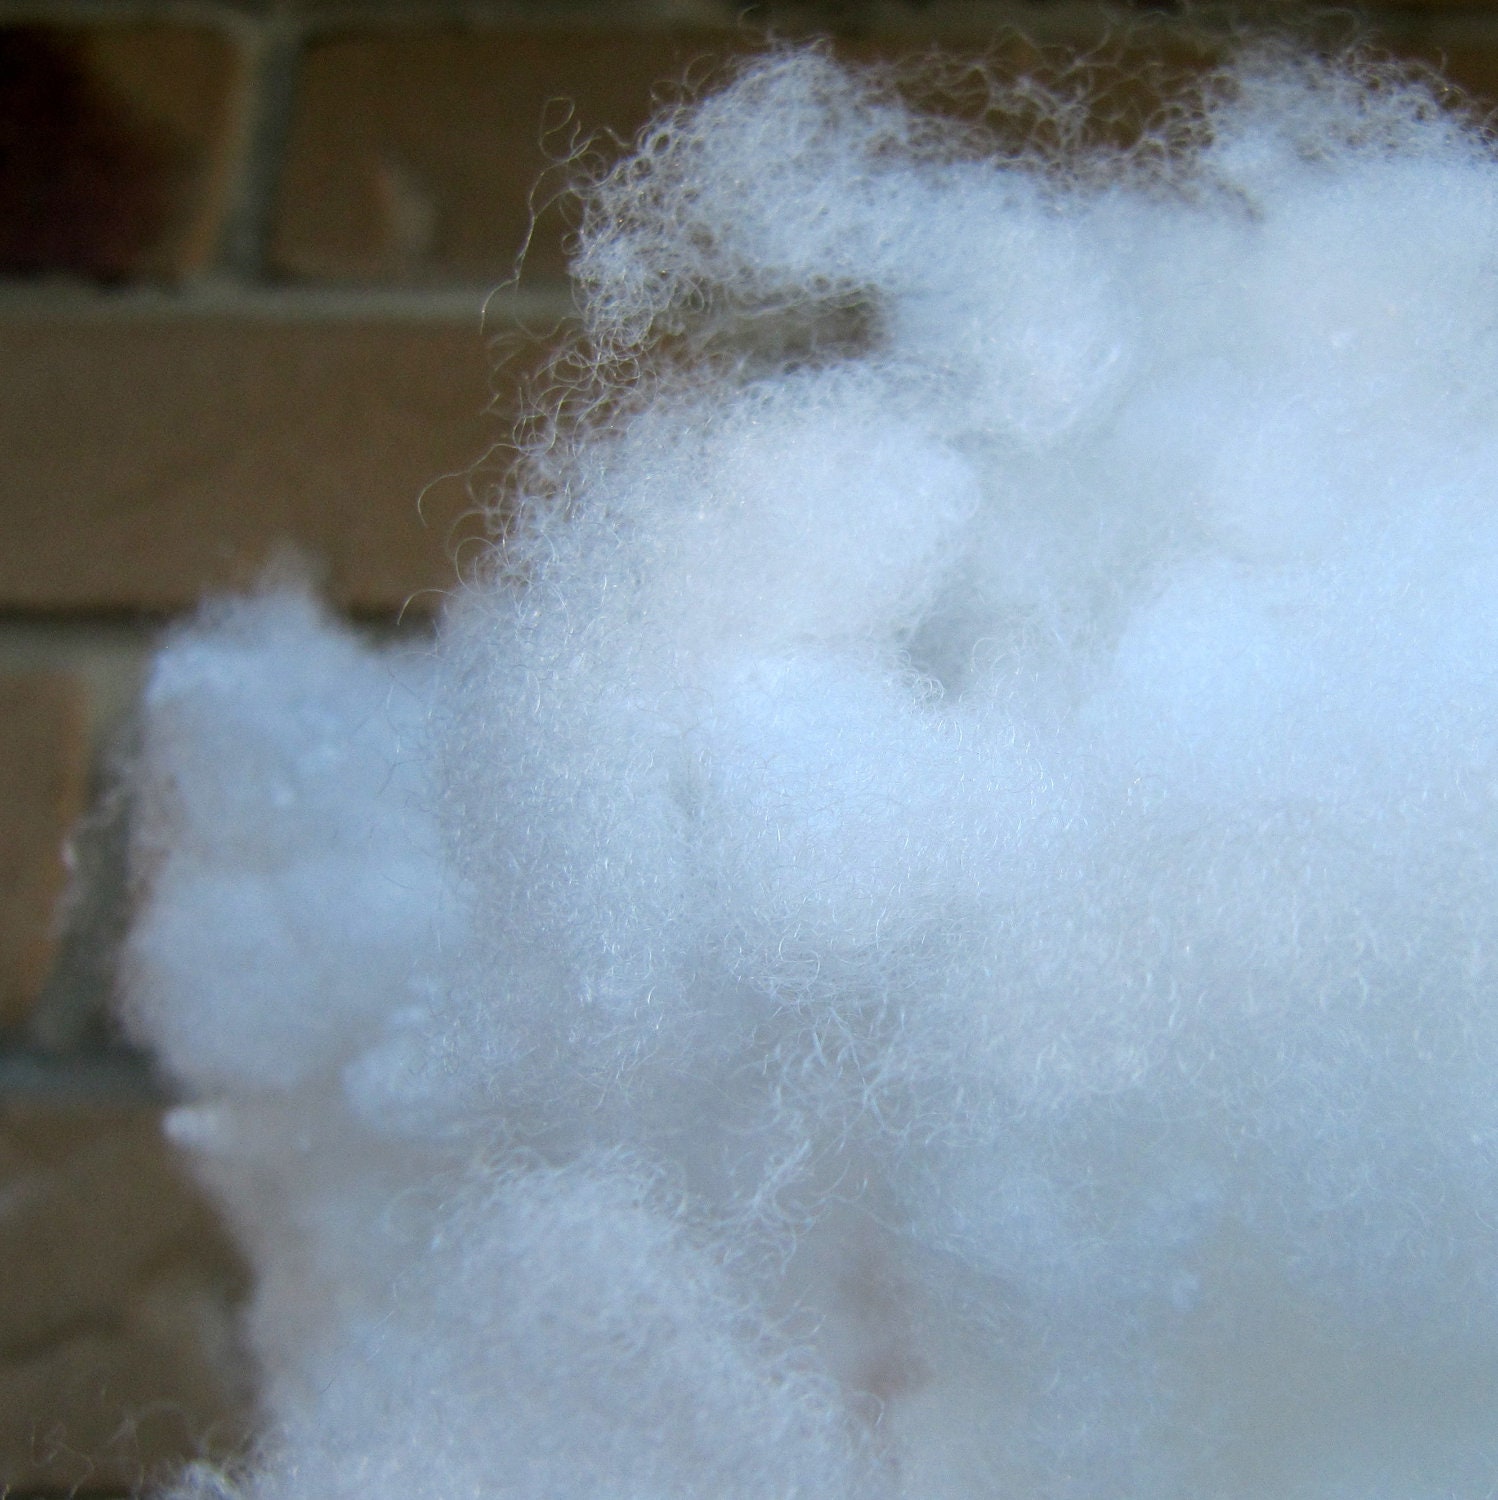
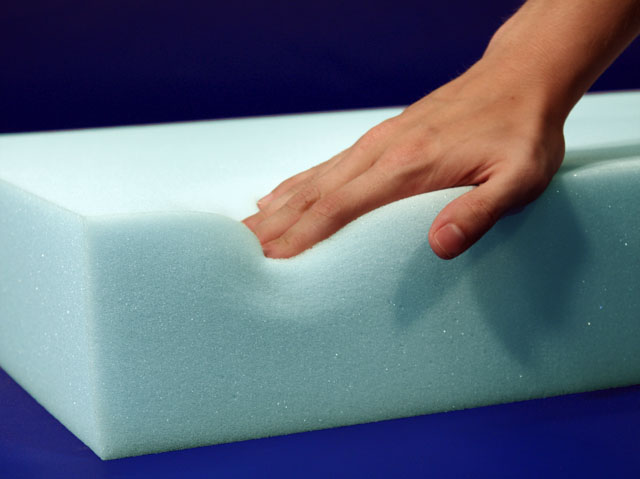
Open cell foam is the stuff that throw pillows are made out of.
When I make weapons, I cover the open cell foam in cling wrap. I find that helps keep the duct tape from sticking to itself. It also makes the tips reuseable when they may separate from the weapon -- whereas once duct tape touches open cell foam, it is never ever coming off. Use an X-Acto blade or a thumb tack to poke a million air holes in the cling wrap once applied.
The end of your weapon which faces your opponent needs to have 2" of open cell foam at the end. That means that beyond the end of the pipe core, there will be 1" of closed cell foam, plus an additional 2" of open cell foam for a total of 3" of some kind of foam between pipe and opponent. The open cell foam will condense (squish down, essentially) when you put the final tape over it. My personal recommendation is that you cut your open cell foam to 2.25" to compensate for this before you tape it.
I further recommend personally that you tape the blade section of the weapon by itself before adding the open cell foam thrusting tip. Thrusting tips are the section of weapons that need most frequent repair. If you tape the blade separately from the tip, then replacement of tips is quick and easy -- You don't have to cut down the whole end of the blade to redo it.
The pommel of your weapon (the end which you hold) always needs the 1" of closed cell foam beyond the pipe described above no matter what. It needs the 2" of open cell foam if the weapon will be used in conjunction with the Waylay skill. If anyone on your team has Waylay or may pick up that skill, consider adding this to your own weapons as a courtesy even if you don't use the skill. Although not required by the safety rules, another personal recommendation that I will offer to you is that you add at least 1" of open cell foam as a thrusting tip simply for improved safety. It is possible, if we hope unlikely, that you may catch someone on the backswing with your weapon. As a Weapons Marshal, I won't fail weapons for lack of open cell foam at the pommel; this is just a personal recommendation you may wish to consider for maximum safety of your weapon construction.
The last part of that process I will clarify which may not be clear in the published guidelines is that you need to poke holes through the tape over both thrusting tips. This is just to make air holes so that the tips are squishy and condense with the impact of striking your opponent. I find that an X-Acto blade is the right tool for this purpose, although some people prefer to use a thumbtack. Poke a million holes in every surface of the thrusting tip, including all around the sides, not just the top. If you made a + sign with two layers of duct tape during the taping process, you might wish to pause to poke the holes in the first layer before moving on to the second layer of tape -- Makes it easier at the end of the process.
If anyone has questions about this process, I am happy to bring weapons making supplies (with notice) to Sunday fighter practice in Arvada to demonstrate these items. I live in Westminster and work in Broomfield, and if you're in my neck of the woods or would like to come up here, I'm also happy to get together to show any of our players how to make weapons.
Please don't hesitate to post questions here, contact me privately through Facebook, or email me at trace.moriarty@gmail.com.
Trace Moriarty
Weapons Marshal, Alliance Denver
I've just been appointed as an official Weapons Marshal for Alliance Denver. I'll be assisting Jesse by conducting weapons safety check at future events. I'm also happy to check any player weapons at our Sunday fighter practices at Ladybug Park in Arvada.
After speaking with several players making their first attempts at constructing their own boffer weapons, my understanding is that the published guidelines on traditional boffer weapon construction may not be sufficiently clear in description of proper construction of the tips of weapons at both ends.
To define our terms: In traditional round-blade boffer weapons, closed cell foam is the pipe insulation that you use for the length of the blade of the weapon. In flat-blade weapon construction, you might use camp foam for this purpose.
In both round blades and flat blades, the closed cell foam should extend 1" past the core of the weapon at both ends. The core should be completely encased in foam so that no part of the core sticks out beyond the foam. Obviously, this is to ensure that there's no chance of beating your friends at Alliance with raw pipe since they tend to take that rather personally.
The gap between the end of the weapon core and the end of the closed cell foam should be packed densely with little bits of spare foam. For traditional round-blade weapons, make a + sign with tape over the end cap to keep that plug of spare foam in there.
Open cell foam is the stuff that throw pillows are made out of.
When I make weapons, I cover the open cell foam in cling wrap. I find that helps keep the duct tape from sticking to itself. It also makes the tips reuseable when they may separate from the weapon -- whereas once duct tape touches open cell foam, it is never ever coming off. Use an X-Acto blade or a thumb tack to poke a million air holes in the cling wrap once applied.
The end of your weapon which faces your opponent needs to have 2" of open cell foam at the end. That means that beyond the end of the pipe core, there will be 1" of closed cell foam, plus an additional 2" of open cell foam for a total of 3" of some kind of foam between pipe and opponent. The open cell foam will condense (squish down, essentially) when you put the final tape over it. My personal recommendation is that you cut your open cell foam to 2.25" to compensate for this before you tape it.
I further recommend personally that you tape the blade section of the weapon by itself before adding the open cell foam thrusting tip. Thrusting tips are the section of weapons that need most frequent repair. If you tape the blade separately from the tip, then replacement of tips is quick and easy -- You don't have to cut down the whole end of the blade to redo it.
The pommel of your weapon (the end which you hold) always needs the 1" of closed cell foam beyond the pipe described above no matter what. It needs the 2" of open cell foam if the weapon will be used in conjunction with the Waylay skill. If anyone on your team has Waylay or may pick up that skill, consider adding this to your own weapons as a courtesy even if you don't use the skill. Although not required by the safety rules, another personal recommendation that I will offer to you is that you add at least 1" of open cell foam as a thrusting tip simply for improved safety. It is possible, if we hope unlikely, that you may catch someone on the backswing with your weapon. As a Weapons Marshal, I won't fail weapons for lack of open cell foam at the pommel; this is just a personal recommendation you may wish to consider for maximum safety of your weapon construction.
The last part of that process I will clarify which may not be clear in the published guidelines is that you need to poke holes through the tape over both thrusting tips. This is just to make air holes so that the tips are squishy and condense with the impact of striking your opponent. I find that an X-Acto blade is the right tool for this purpose, although some people prefer to use a thumbtack. Poke a million holes in every surface of the thrusting tip, including all around the sides, not just the top. If you made a + sign with two layers of duct tape during the taping process, you might wish to pause to poke the holes in the first layer before moving on to the second layer of tape -- Makes it easier at the end of the process.
If anyone has questions about this process, I am happy to bring weapons making supplies (with notice) to Sunday fighter practice in Arvada to demonstrate these items. I live in Westminster and work in Broomfield, and if you're in my neck of the woods or would like to come up here, I'm also happy to get together to show any of our players how to make weapons.
Please don't hesitate to post questions here, contact me privately through Facebook, or email me at trace.moriarty@gmail.com.
Trace Moriarty
Weapons Marshal, Alliance Denver
Last edited:
 YYYYEEEEEAAAAHHHHHHHH!!!