Back Scabbard

Fynwei

Squire
I've been having a ton of annoyance with trying to figure out how to carry my two-hander. My character has claws also, so quick-draw isn't much of a problem, but I've been having trouble jury-rigging anything to keep the darned thing on my back. I think the next thing I'm going to try is hand-making a PVC weapon version of a European back scabbard.
(see http://www.valleymartialarts.com/index.php?main_page=product_info&cPath=1_34&products_id=652 or http://www.flickr.com/photos/skyfire124/207740242/in/set-72157594242522823/)
Any other suggestions?

Things to keep in mind: I'm 5'2. My weapon is 5" give or take an bit. (Don't have it on hand to measure; guessing.)


(by the way, am I the only person who'd really like a separate board area for costuming/props?)
 
I've seen people in the SCA carry their two handers on their back by having a 4 inch piece of PVC that they would split and then with a heat gun (or some time in the oven) mold around their weapon. They would attach this to their backs in some fashion and basically they've made a 'clip' that their sword resides in. I assume the same could be done for a boffer weapon.

Sorry, no photos of it.
 
The second photo you posted is how I have made the back scabbards...

A hook at the top that is well rounded and padded will hold the hilt, and a 'pocket' or slip will hold the blade. Tied off to the belt on the front and back.
For the hook to work, I have made my 2 handers with eyelets (instead of resting on the cross guards).

Instead of PVC, you could also carve poster tubes. Lighter, easier to work with, and prolly cheaper.

(and a forum for props/weapons/costuming could be put in the merchandise category...)
 
this is a back scabbard i made
i took a long piece of pleather, measured from the hilt down to the tip of the blade,added an inch for a gap and folded it in half so i only had to stich one side
and then took my strap and sewed it along the stiched edge on the outside , the fringe was another piece that i cut out seperatly and attached to the top by folding the non-fringed edge over and sewed that to the top.
i can draw easily out of this only a slight effort required to get it back into the scabbard.

004.jpg

003-1.jpg

002-1.jpg

001-1.jpg
 
I am remaking the back piece my character, Ithica wears. So i attached a quick frog to it to snap some pics for you. ( the frog can be longer or smaller, or actually one frog at the top and one at the bottom for a 2 hander).

But the actual idea is the scabbard has to be on some kind of a harness. The side straps and the center piece where all the straps meet can be moved to go on the side of the body. But i wanted mine to sit dead center from of my chest.

Anyway, it basically takes 3 straps and a focus piece in the front and the back (where the straps meet). This will stop the harness or scabbard from falling or sliding out of position, while still running, jumping or basically doing anything athletic. It also does not move when you try to pull your sword out, just make sure to draw your weapon UP appose to back to front.. ( i added the pauldron as well, that is not a requirement)

Hope this helps.

-Toddy


100_0448.jpg

100_0449.jpg

100_0445.jpg
 
I think the biggest concern is that the OP is 5'2 and toting a 5' sword. Even angling out a bit, the biggest issue, I suspect, will be getting your legs caught in the blade when running.
 
jpariury said:
I think the biggest concern is that the OP is 5'2 and toting a 5' sword. Even angling out a bit, the biggest issue, I suspect, will be getting your legs caught in the blade when running.

The trick there is go min length blade, max handle to have more "up" and less 'down' in the legs to be tripped over. (and if you are running, you should prolly have that blade handy... ;) )

The issue with the 'whole length' sheath Syra is the delay on drawing. It sometimes gets stuck on the draw unless it is VERY well made. With minimum connections to corral the blade instead of capture it, the draw is quick and natural.
 
I've got a really simple solution, but it's hard to explain in print, and I don't have any pictures (and can't take new ones, I don't use the two-hander anymore and re-purposed the components), but I'll try.

Take a Pringles can and paint/tape/whatever it your color of choice. Put two leather bands around it at the top and bottom, and affix those to a long strap of leather (preferably, but not necessarily) that runs perpendicular to the bands (along the can). Secure the bands to the can with Chicago Screws (this is so that you don't have to re-make the entire thing when the the can finally breaks/loses it's shape). I used one screw per band, 180 degrees around the can from the straps, and that worked fine. The length of the 'long strap' will determine where you want the two-hander to sit, so you'll have to figure out that length for your body. So, on one end of the long strap is the pringles can, the other end should terminate in a belt loop. I recommend a straight belt loop rather than an angled one (which is what will seem intuitive if you're used to making armor pieces) because it's easier and doesn't seem to make any difference. Effectively, you now had a pringles can hanging from a belt that is hanging from your belt. Sweet. This is part 1.

Part 2: Take a metal ring (about 1" or so) and attach the end of a leather strap to it, probably 3-6 inches long, with a hole punched in it near the other end. The size of the hole will determine how easy/hard it is to pop your two-hander free. I used about a quarter inch punch, and that worked pretty well. Remove the waylay end of your two-hander and put the ring around the core so that it moves freely about the grip area on your two-hander, then put your weapon back together.

Part 3: On the shoulder of your armor (right shoulder if you're right handed, left if you're left handed) affix another ring. Figuring out just where is comfortable for this is a personal choice, but you'll figure it out. On this ring put one of these pins. You'll need a pretty big one, about 3 inches. The big loop of the pin goes in the ring.

That's the entire construction part. Here's how it works:
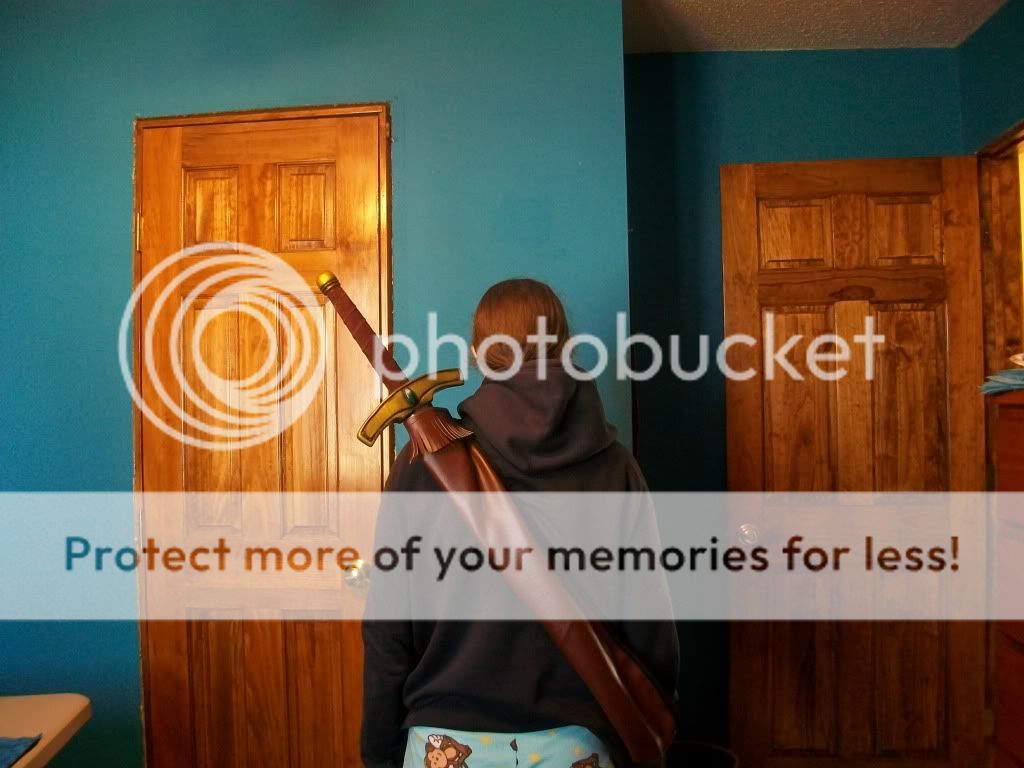
Put your two-hander in the pringles can, point down. This is easier to do if you sweep it to your left side so that you can see it, rather than fishing around for it behind you. Then, as you swing the weapon back around you, grip only the leather strap on the ring on your handle. The ring will slide up along the handle as necessary. Put the pin (the squiggly side) through the hole in the little strap on the handle. Your weapon should now stay in place on your back.
When you draw the weapon, grab the lowest end you can comfortably reach and pull it directly up so that it gets free of the pringles can, then pull forward and down, using it like a lever with your shoulder as the pivot point. The pin will let the strap free since you're pulling it along the release axis. The weapon should pop free with a minimum of effort, and looks and feels very smooth.

If you are too short to pull the weapon all the way out of the pringles can, shorten the can so you don't have to pull it as far. For stability, leave the can as long as you can though. (A duct-tape roll does not work.) The can will probably hit you in the upper shin while you fight, but I haven't found it long enough to actually trip me up of impede my fighting ability (and although I'm 6'3", my two-hander is max length, so this may still work out for you). Generally, the only time the two-hander pops off when I don't want it too is when moving through branches and snagging it. Most combats it stays fine (but that's not an issue if this is your primary weapon, it wasn't mine, which I why I eventually stopped carrying it (the spirit linked shield didn't help, either)). At some point, you will crush your can (though it took me a couple of events). Always have a backup. (Mine usually contained Pringles).
~Matt
 
Back
Top